Webhooks
Move API can easily be integrated with custom webhooks to get updates when an event is triggered by us. To create a webhook, you need to specify the URL of your webhook, a secret and the events you want to receive updates for.
Currently, the available events can be found at this link. You can subscribe to any of these events using our upsertWebhookEndpoint mutation.
Adding webhooks using our hosted portal
Each client has access to a their own hosted portal where they can add webhooks and manage their subscriptions. You can access the portal using the following graphql query:
{
    client {
        id
        name
        portal
    }
}
This will return a URL that you can use to access your portal.
{
    "data": {
        "client": {
            "id": "client-XXXXXXXX-XXXX-XXXX-XXXX-XXXXXXXXXXXX",
            "name": "my awesome client",
            "portal": "https://app.svix.com/login?XXXXXX"
        }
    }
}
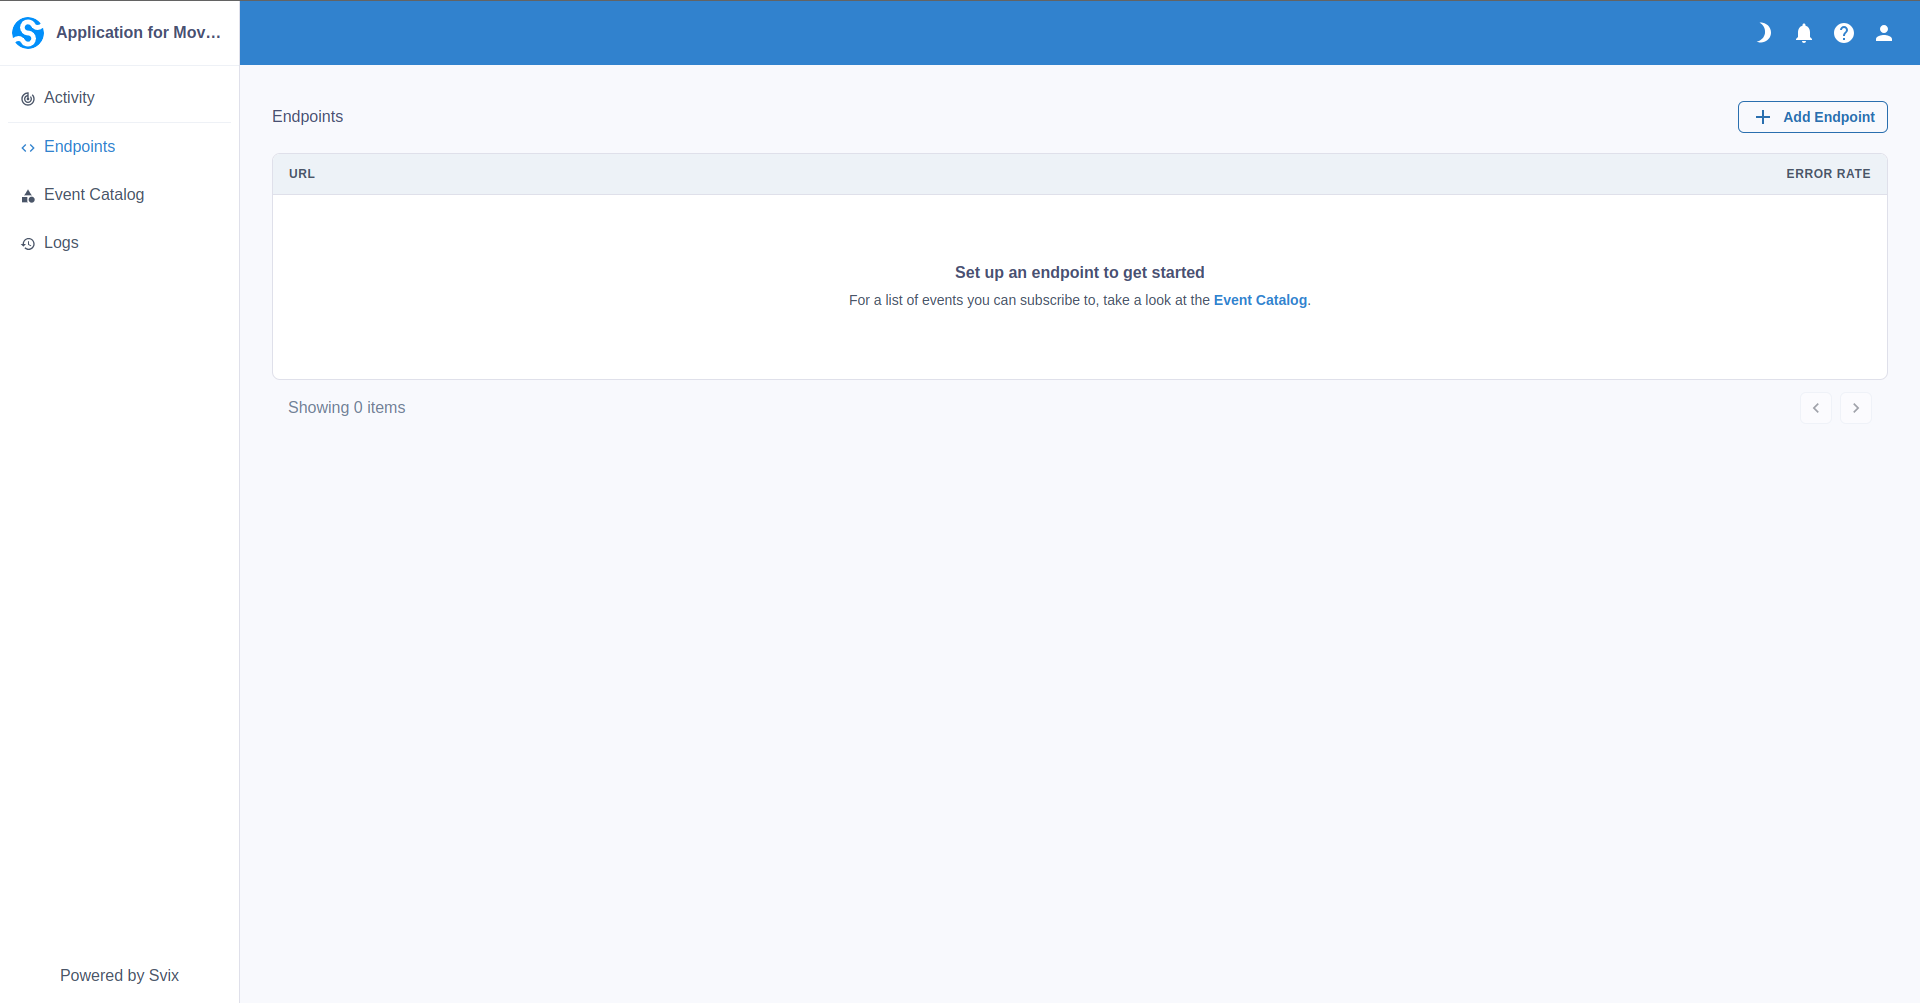
Once you access the portal, you can follow the steps below to add a webhook:
a. Click on the Endpoints tab on the left side of the screen.

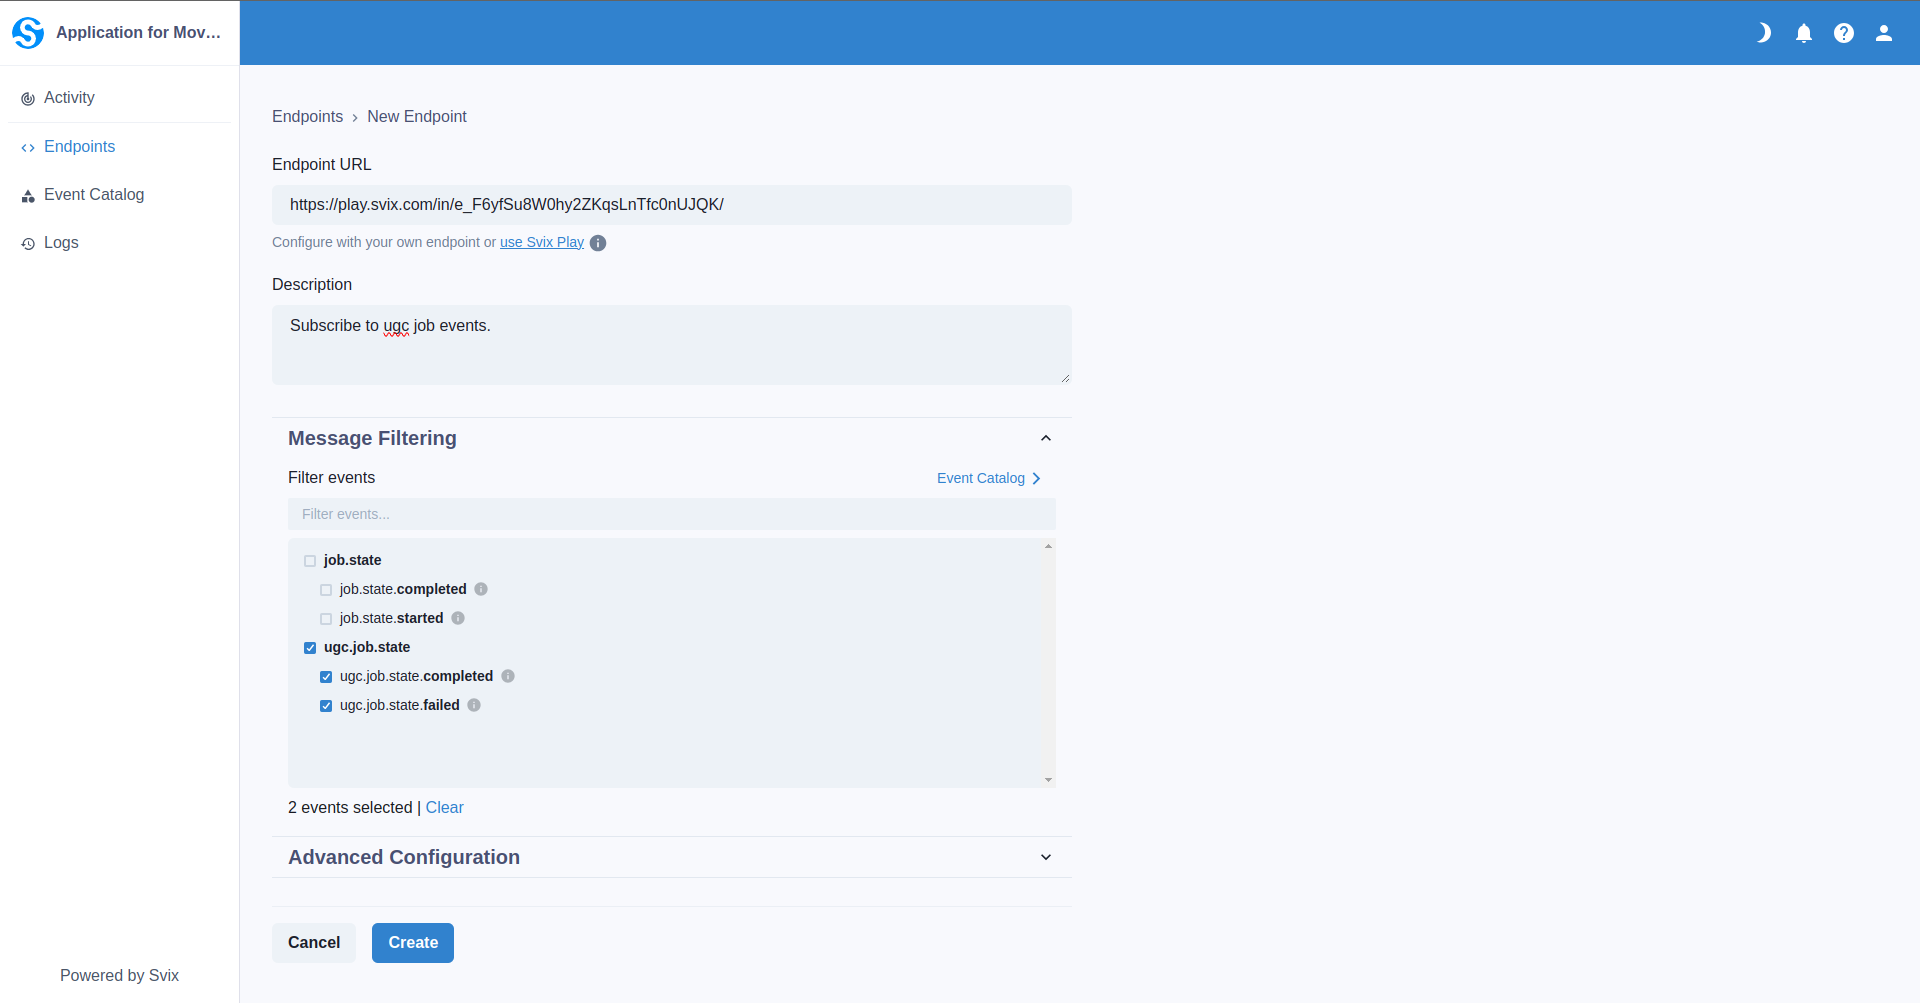
b. Click on the Add endpoint button.
c. Fill in the form with the URL of your webhook, and the events you want to receive updates for.
Adding webhooks using the API
You can also add webhooks using the API. To do this, you need to use the upsertWebhookEndpoint mutation.
mutation CreateWebhook {
    webhook: upsertWebhookEndpoint(
        url: "https://your-webhook-url.com",
        description: "This webhook does awesome things.",
        secret: "your-secret",
        events: ["ugc.job.state.completed"],
        uid: "your-unique-id-for-webhook",
        metadata: "{\"key\": \"value\"}"
    ) {
        uid
        secret
        description
        url
        events
        metadata
    }
}